2FA Support (TOTP)
How to send TOTP codes (2FA/MFA/Verification Code) to Skyvern
Skyvern supports logging into websites that require a 2FA/MFA/Verification code. There are 5 kinds of 2FA we support today:
- Option 1: Google Authenticator (TOTP)
- Option 2: Email Verification Code
- Option 3: Phone Verification Code
- Option 4: Let Skyvern get the code from your server (webhook)
- Option 5: One Time Login Link
Option 1: Google Authenticator (TOTP)
Step 1: Save your username and password in Skyvern Credential. See Password Management for more details.
Step 2: Add your account by manually entering the secret key (extracted from the QR code). Not sure how to get it? Follow this guide.
💡 Don’t have the key? Contact Skyvern Support and we can help you get it.
Option 2: Email Verification Code
Email verification codes require you to set up a forwarding rule that forwards these emails to a Skyvern endpoint.
The forwarding rule can be set up using Gmail + Zapier or similar tools. (instructions below)
💡 Coming Soon: We plan to provide email forwarding addresses that make this easier to set up
You can pass totp_identifier when running a task or a workflow. When the TOTP code arrives at your inbox, all you need to do is to send the email/message to Skyvern’s TOTP endpoint.
Forwarding Your Email To Skyvern (Gmail + Zapier)
This setup requires a Zapier Pro plan account.
Step 1. Create a Zapier Zap
Go to https://zapier.com/app/home and create new Zaps
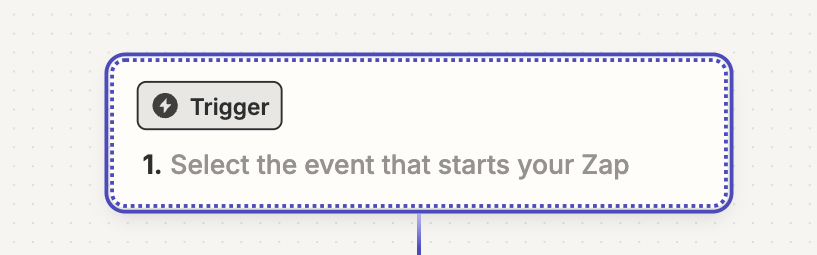
In the newly created Zap draft, Click the “Trigger” button
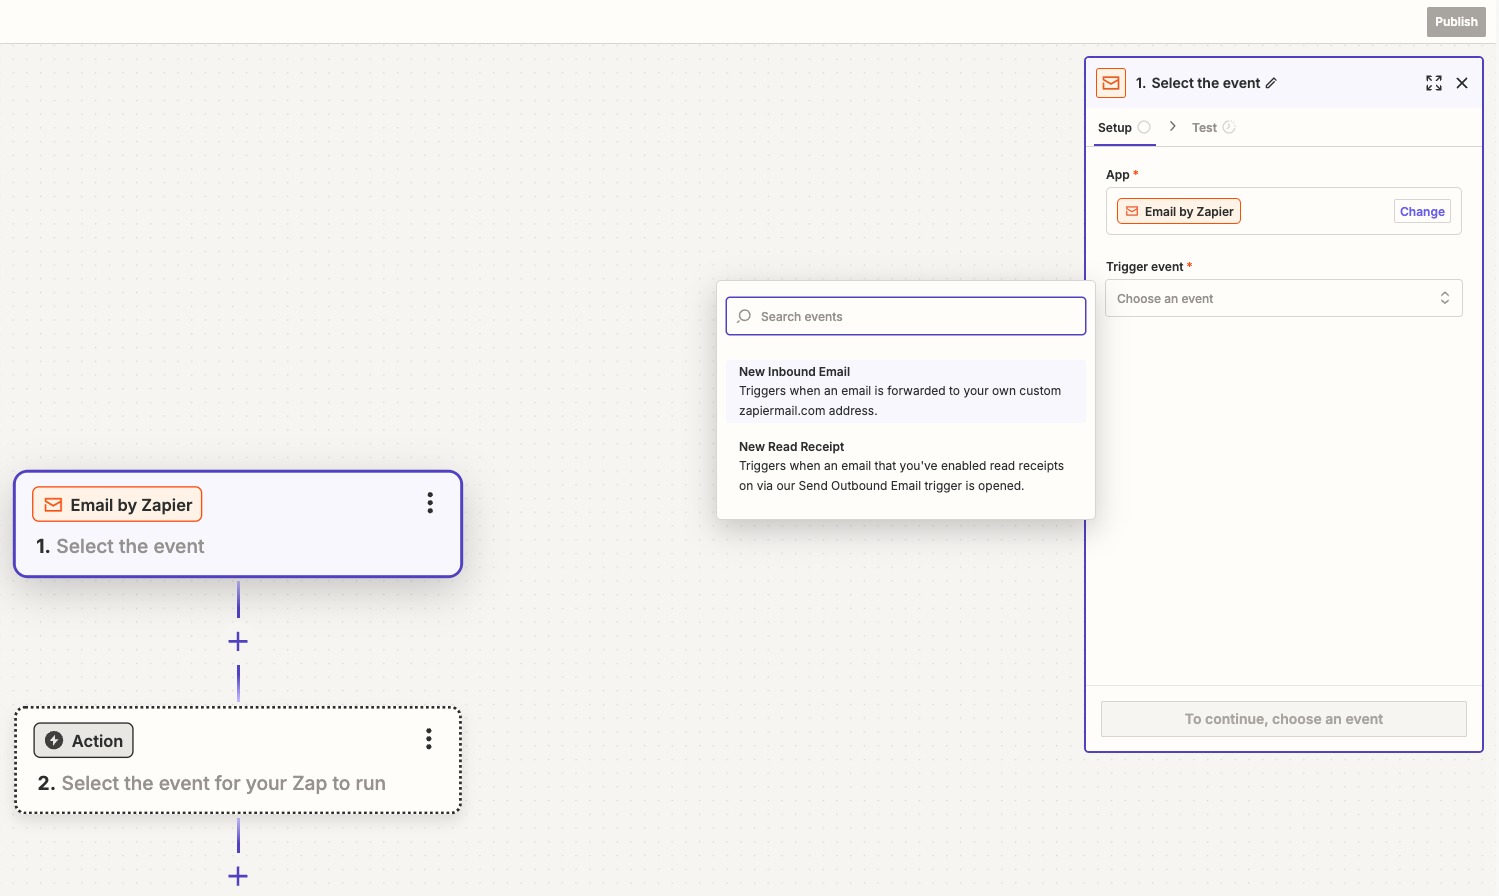
Click Email by Zapier
In the Email “Setup”, pick New Inbound Email in the Trigger event selection. Click Continue to complete the “Setup”
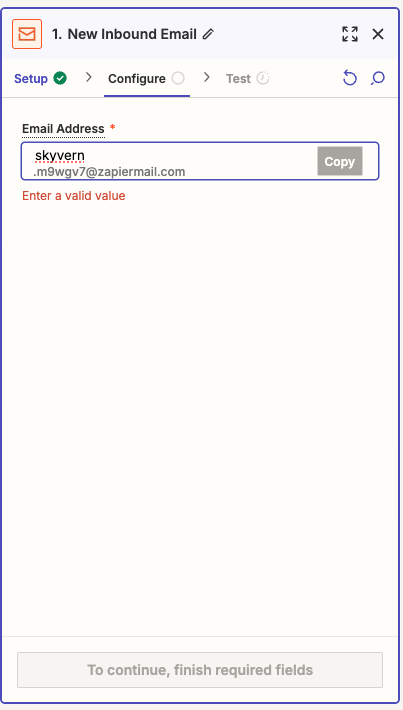
In Email “Configure”, create an email address which will be used to forward emails for TOTP codes. Click “Continue”.
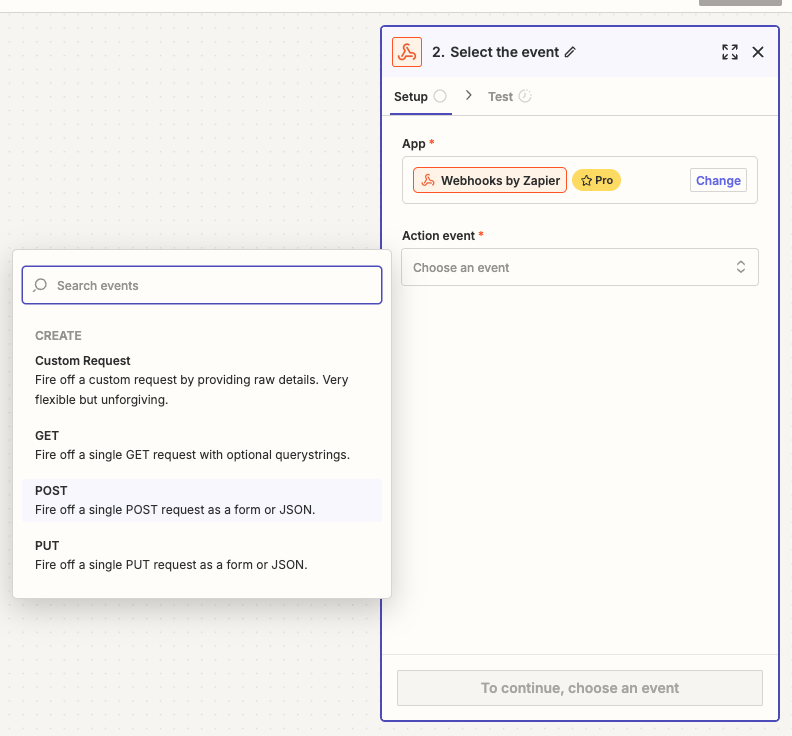
Let’s add the Action to complete the Zapier setup before coming back to test it. Click the “Action” button and add Webhooks by Zapier

In the Setup, choose “POST” under the Action event selection. Then click “Continue”.
In the “Configure”, set up these in order to make a POST request to Skyvern’s TOTP API:
- URL:
https://api.skyvern.com/v1/credentials/totp - Payload Type: json
- Data:
- totp_identifier: choose
Raw To Emailafter clicking the “+” sign - content: choose
Body Plainafter clicking the “+” sign - source: email
- totp_identifier: choose
- Headers:
- x-api-key:
Your Skyvern API Key
- x-api-key:
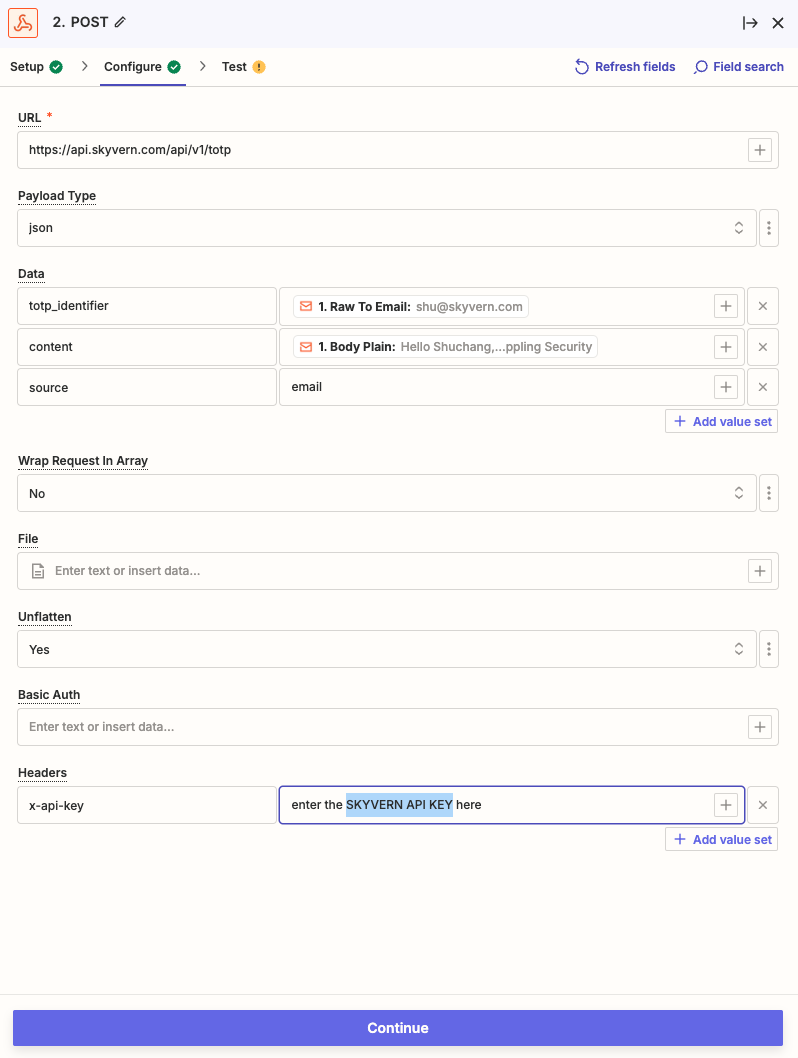
Click Continue
Step 2. Add forwarding email and create a filter in Gmail
Go to Gmail Settings → Forwarding and POP/IMAP (https://mail.google.com/mail/u/0/#settings/fwdandpop) → click “Add a forwarding address” → enter the zapier email address you just created. There might be some verifications, including a verification email from Zapier, you have to complete here.
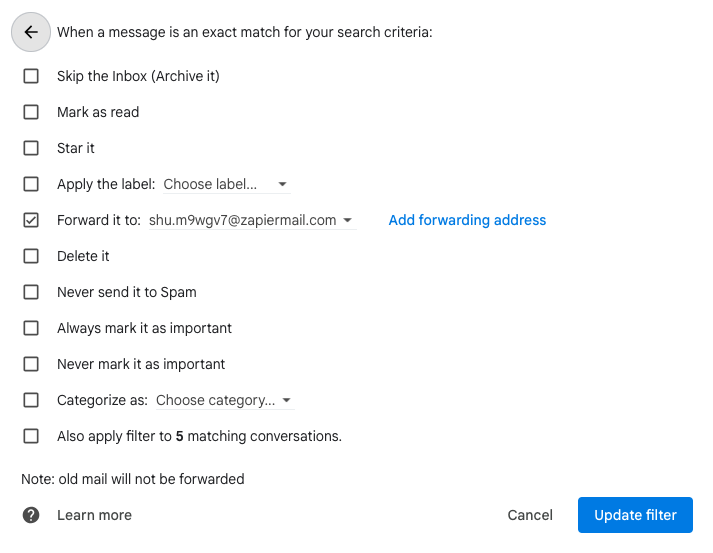
After setting up the forwarding email address, go to “Filters and Blocked Addresses” (https://mail.google.com/mail/u/0/#settings/filters). Click “Create a new filter” and set up your email filtering rule for your TOTP (2FA/MFA) emails. Click “Create filter”. Check “Forward it to” and pick the new email address and update filter.
Step 3. Test it end to end!
You can forward any previous TOTP (2FA/MFA) email to the Zapier email address you created in Step 1.
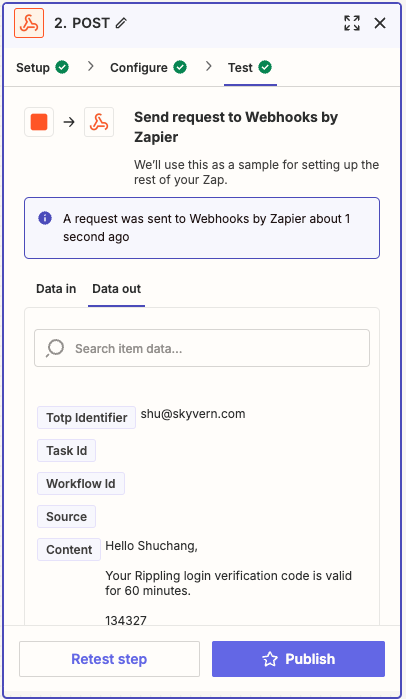
In Zapier: under the “Test” of the Webhooks action, send a request to test it out. If your test is successful, you should see a A request was sent to Webhooks by Zapier message
Option 3: Phone Verification Code
Phone verification codes are supported the same way as email verification codes. You will need to set up a forwarding rule that forwards these messages to a Skyvern endpoint.
A good solution to set up this forwarding rule is to use virtual phone number services such as Twilio or Pilvo.
Make sure you pass totp_identifier when running a task or a workflow. When the TOTP code arrives at your virtual phone number, all you need to do is to send the message to Skyvern’s TOTP endpoint.
You can use the following code to forward the message to Skyvern:
Option 4: Let Skyvern get the code from your server (webhook)
You can pass totp_url when running a task or a workflow. Inside this endpoint hosted by you, you have to conform to the following schema:
Set Up Your TOTP Endpoint
For websites that requires a verification code to complete a task, you have to set up a TOTP endpoint for Skyvern to fetch the verification code.
Here’s the TOTP endpoint contract you should use:
Request (POST):
Response:
Validate The Sender of The Request
Same as the webhook API, your server needs to make sure it’s Skyvern that’s making the request.
- a python example for how to generate and validate the signature:
SKYVERN_API_KEY: you can get the API KEY from Skyvern Settings.
Option 5: One Time Login Link
One time login links are supported by breaking your workflow / task into two parts:
- Login to trigger the one time login link
- Trigger the rest of your task / workflow based on the one time login link as the starting point
You will need to set up something (e.g. Zapier) that monitors the email inbox for incoming magic links. Once you get the link, you can use it to trigger the rest of your task / workflow.
When triggering the rest of your task / workflow, you can pass the one time login link as the starting point (e.g. url parameter), and Skyvern will start the new session already logged in.